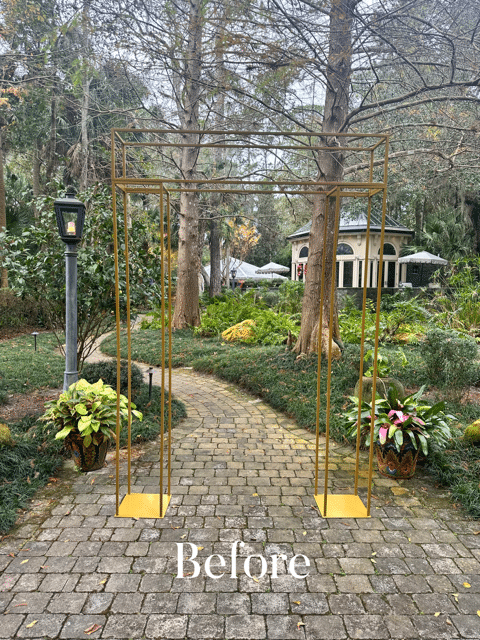
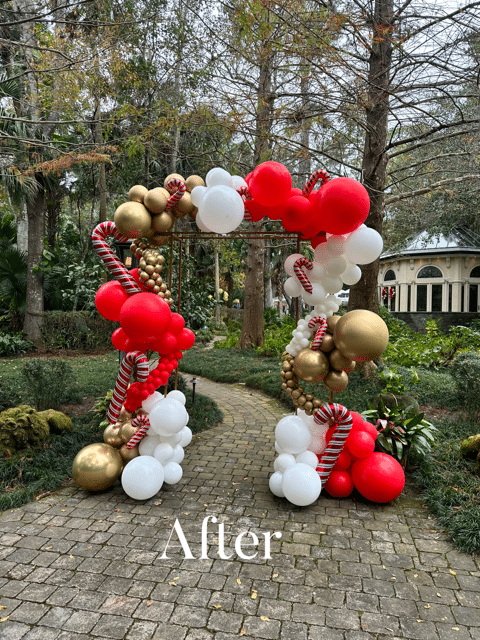
The holiday season is here, and what better way to infuse the festive spirit into your Holiday party than with a stunning Holiday arch? In this blog post, we’ll take you on a journey through the creation process, showcasing the delightful transformation from a bundle of balloons to a captivating Holiday arch.
Before: Crafting the Holiday Wonderland
- Gathering Supplies: The first step in creating a mesmerizing Holiday arch is gathering all the necessary supplies. Balloons in traditional holiday hues such as red, green, blue, white, black, silver and gold, a reliable balloon pump, string, and perhaps some twinkling lights to add an extra dash of magic.
- Design Inspiration: Before diving into the assembly, it’s crucial to decide on the arch’s design. Are you envisioning a classic arch with evenly spaced balloons, or perhaps an organic arch like the one we designed for this event with various sizes and colors intertwined for a whimsical feel? Take a moment to sketch your ideas and plan the color scheme.
- Inflating Balloons: Armed with your design, it’s time to bring the balloons to life. Using a balloon pump or air inflator, inflate each balloon to the desired size, ensuring a consistent look across the arch. Tie the balloons securely, and you’re ready to start assembling.
- Balloon Arrangement: Whether you opt for a classic arch or a more playful organic design, start arranging the balloons accordingly. Consider creating clusters with different sizes and alternating colors to achieve a dynamic and visually appealing result.
After: A Holiday Arch Extravaganza
- Assembly and Magic Unleashed: As you begin assembling the arch, the magic of the Holiday starts to unfold. Whether you’re framing a doorway, creating a grand entrance, or adorning a focal point in the room, the arch takes shape, transforming the space into a Holiday wonderland.
- Final Touches: With the arch in place, take a moment for final adjustments. Ensure that the balloons are evenly distributed, and the arch has the desired shape. This is also the perfect time to add any additional elements, such as holly, ribbons, or fairy lights, to elevate the festive atmosphere.
- Capturing the Moment: As the arch stands proudly, it becomes a picturesque backdrop for the festivities. Encourage guests to capture the moment with photos, creating memories surrounded by the enchantment of the Holiday arch.
- A Focal Point of Celebration: Your Holiday arch is not merely a decoration; it’s a focal point that sets the tone for the entire party. Whether guests are entering through it, posing for photos, or simply admiring its beauty, the arch becomes an integral part of the celebration.
In conclusion, the before and after of a Holiday balloon arch is a journey from preparation to enchantment. It’s about crafting moments of joy and turning a space into a festive haven that embodies the magic of the season. So, go ahead, unleash your creativity, and let the Holiday arch become the star of your holiday celebration.
www.orlandomarqueeanddecor.com


